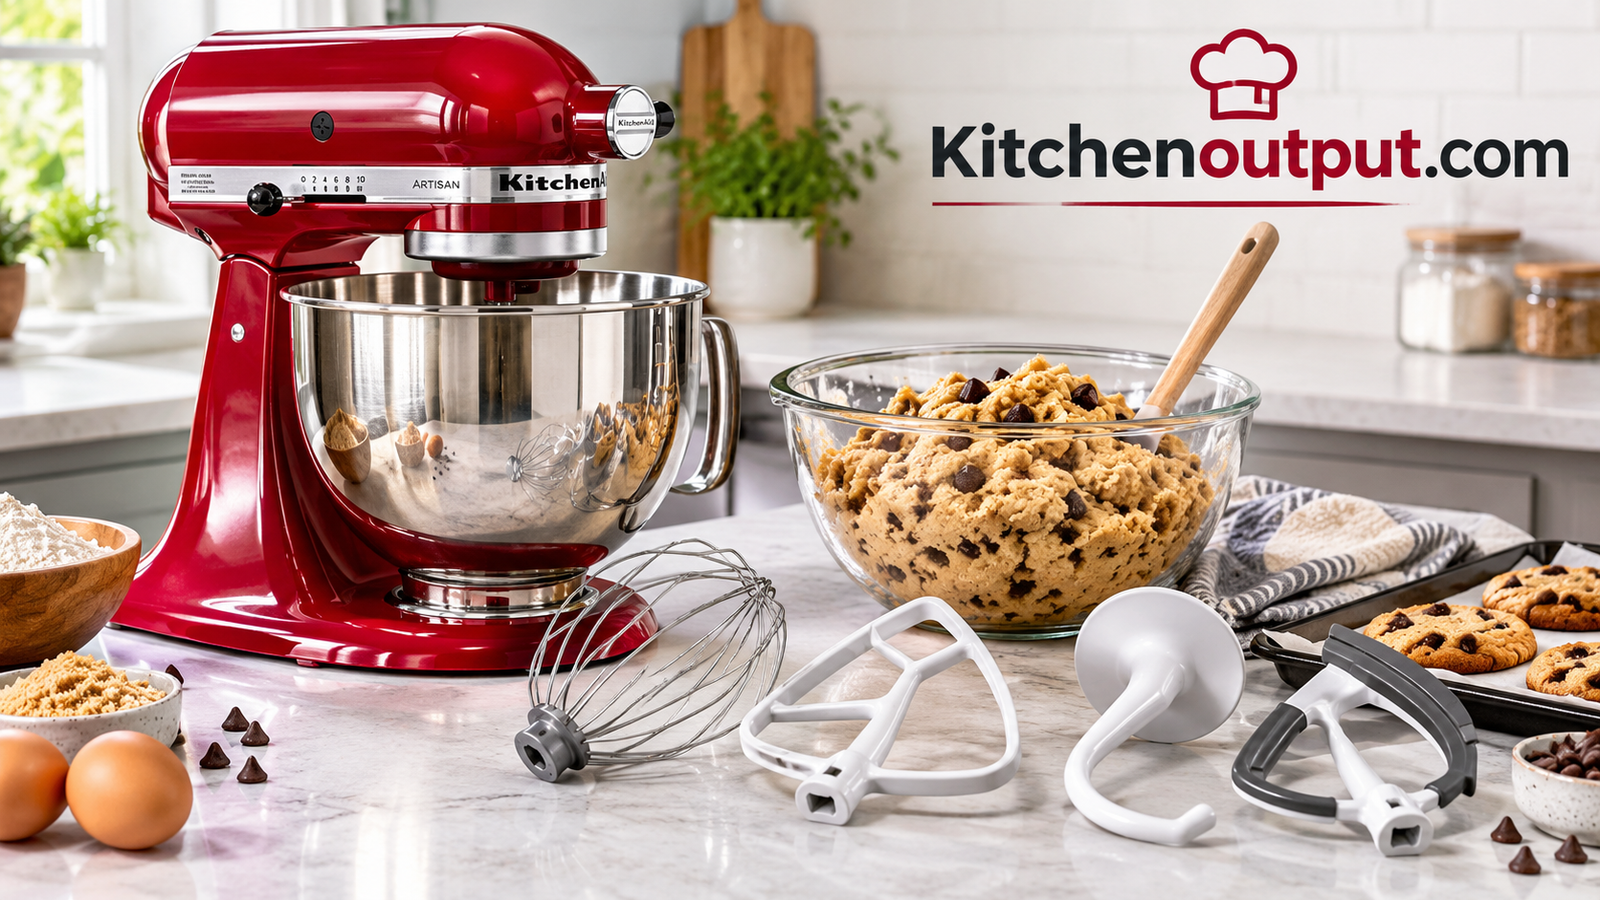
Which KitchenAid Attachment Is Best for Making Cookies?
The short answer is the flat beater — but which flat beater, at which speed, and when the flex edge or wire whip actually earns a spot in your cookie routine is a longer, more useful conversation. Here’s the full breakdown.
If you’ve ever pulled cookies out of the oven and wondered why they spread into thin, greasy puddles instead of holding a proper shape, the attachment on your KitchenAid stand mixer is a more likely culprit than your oven temperature. Cookie dough is stiffer and less forgiving than cake batter, and the tool you use to mix it changes how much air gets folded in, how evenly the butter and sugar cream together, and how much the flour gets developed before it ever sees the baking sheet.
This guide walks through every attachment KitchenAid ships or sells separately that could plausibly touch cookie dough — the flat beater, the flex edge beater, the wire whip, and the dough hook — and explains exactly when to reach for each one, plus the compatibility quirks between different mixer models.
It’s a shorter list than it might seem at first glance. Of the four attachments covered here, one of them is correct for the overwhelming majority of cookie recipes, one is a worthwhile upgrade rather than a strict requirement, and two are almost always the wrong choice despite being included in the standard attachment set that ships in the box. Knowing which is which up front saves a lot of trial-and-error troubleshooting later, especially for anyone newer to baking who assumes a bad batch of cookies must mean a bad recipe rather than a mismatched tool.
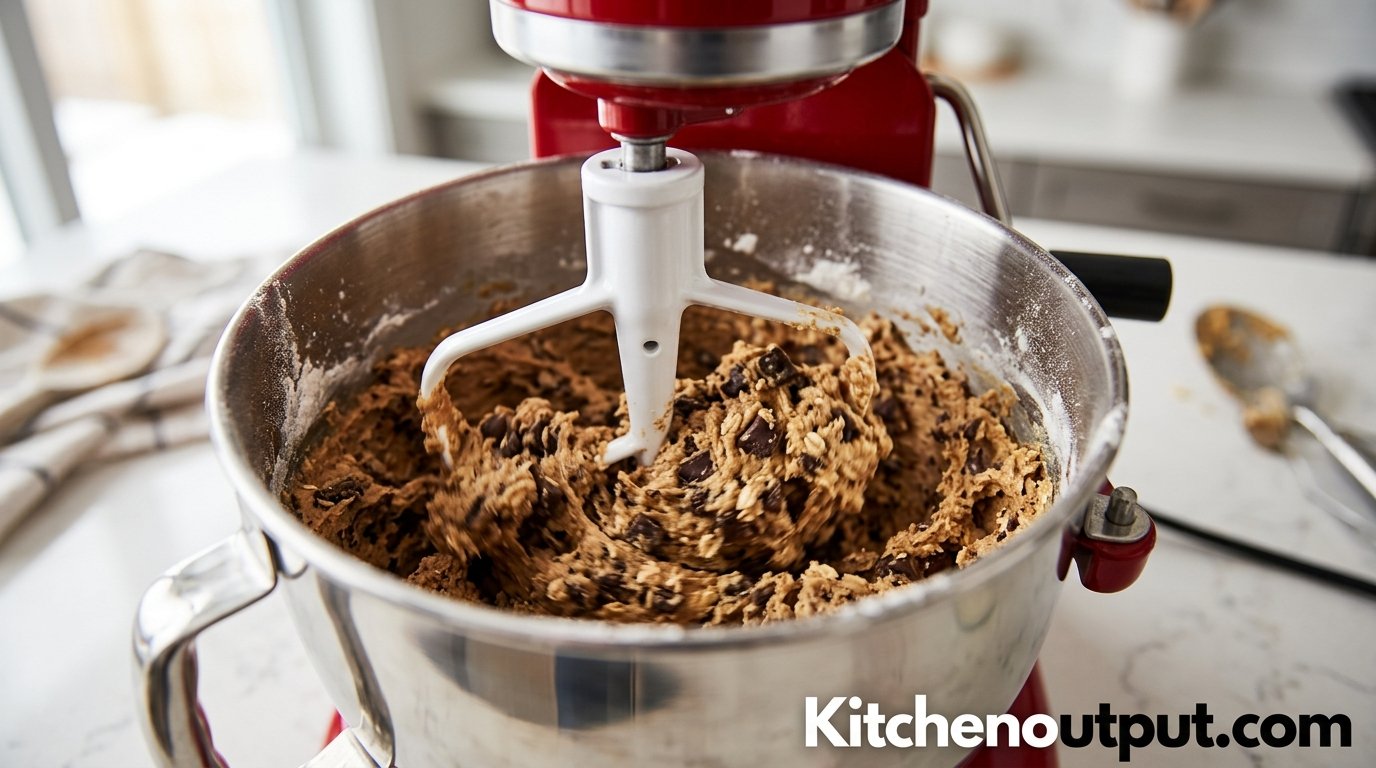
1. Why the Right Attachment Matters for Cookie Dough
Cookie dough sits in an odd middle ground between cake batter and bread dough. It needs enough creaming to trap air and dissolve sugar into the fat, but it can’t be whipped the way a sponge cake is whipped, or the cookies will puff up and collapse. It also can’t be kneaded like bread, because overdeveloping the gluten in cookie dough leads to tough, chewy-in-the-wrong-way results instead of tender ones.
The attachment you choose controls three things: how much air gets incorporated during creaming, how thoroughly the sides and bottom of the bowl get scraped during mixing, and how much shear force gets applied to the flour once it’s added. Get any of those three wrong and the symptoms show up predictably — dense cookies, greasy spread, streaky batter with unmixed butter pockets, or tough, dry texture from overmixed flour.
None of this requires guesswork once you know what each attachment is actually built to do, which is exactly what the rest of this guide covers.
Why Butter Temperature Changes the Equation
Attachment choice interacts directly with butter temperature, and the two are easy to mix up when diagnosing a bad batch. Butter that’s too cold resists the flat beater and creams unevenly no matter how long you mix, leaving visible lumps that never fully break down. Butter that’s too warm creams almost instantly and takes on far more air than the recipe intended, which is one of the most common causes of cookies that puff up in the oven and then deflate into a flat, greasy shape as they cool. Room-temperature butter — soft enough to leave a light indent when pressed, but not glossy or melting at the edges — gives the flat beater the resistance it needs to cream properly without overshooting on air incorporation.
This is worth mentioning up front because a huge share of “my attachment isn’t working right” complaints are actually butter-temperature problems wearing an attachment costume. Before troubleshooting hardware, it’s worth troubleshooting the fat.
2. KitchenAid Attachments at a Glance
A KitchenAid stand mixer typically ships with three mixing attachments in the box — the flat beater, the wire whip, and the dough hook — and KitchenAid sells the flex edge beater and a handful of other specialty tools separately. For cookie baking, you’ll realistically only ever choose between the first two of those and, in a couple of edge cases, the wire whip.
- Flat beater (paddle attachment): The all-purpose creaming and general-mixing tool. Correct choice for the overwhelming majority of cookie recipes.
- Flex edge beater: A flat beater with a flexible silicone edge that scrapes the bowl as it spins. Reduces or eliminates manual scraping.
- Wire whip: Built to incorporate air into thin batters and egg whites. Rarely correct for cookie dough, with a few specific exceptions covered in Section 5.
- Dough hook: Built to knead yeasted bread dough. Almost never the right tool for cookies — see Section 6 for why.
If you’re assembling a full baking station rather than buying one attachment at a time, it’s worth reviewing a general kitchen appliance buying guide alongside this one, since the mixer is usually the anchor purchase the rest of your baking setup gets built around.
Attachments You Won’t Need for Cookies
KitchenAid’s attachment ecosystem is large — pasta rollers, spiralizers, ice cream bowls, food grinders, and a pouring shield are all common accessories, and none of them belong in a conversation about cookie dough. The pouring shield is arguably the closest to relevant, since it clips onto the bowl and helps contain flour dust when adding dry ingredients at low speed, but it doesn’t change the mixing itself. Everything else in the wider attachment catalog is built for an entirely different category of recipe, and buying one under the impression it will improve cookie results is a common and avoidable mistake for newer stand mixer owners still learning the lineup.
3. The Flat Beater: The Cookie Dough Workhorse
The flat beater is the attachment KitchenAid designed for exactly this job, and it’s the one that belongs in roughly 90% of cookie recipes you’ll ever make — chocolate chip, oatmeal, peanut butter, sugar cookies, snickerdoodles, and most drop cookies all use it. Its flat, paddle-shaped head is wide enough to press against the sides of the bowl, which helps break down cold butter and cream it evenly with sugar without whipping excess air into the mixture.
That creaming step is where the flat beater earns its keep. Properly creamed butter and sugar create thousands of tiny air pockets that give cookies lift without making them cakey, and the flat beater’s shape is built specifically to work fat and sugar together at a moderate, controlled pace rather than a fast, aerating one.
What the Flat Beater Gets Right
Strengths
- Creams butter and sugar evenly without overwhipping
- Wide paddle reaches most of the bowl surface
- Handles stiff doughs (peanut butter, shortbread) without straining the motor
- Included standard with every KitchenAid mixer
Limitations
- Doesn’t fully scrape the bowl — manual scraping is still needed
- Solid metal edge can leave streaks of unmixed butter along the sides
The main workaround for that scraping limitation is simple: stop the mixer once or twice during creaming and scrape the bowl down by hand with a rubber spatula. It adds thirty seconds to the process and produces noticeably more even dough.
It’s also worth noting that the flat beater’s design has stayed largely consistent across KitchenAid’s history for a reason — it’s a genuinely well-solved shape for the job. Newer bakers sometimes assume a more expensive or specialized tool must exist for better results, but for creaming-based cookie doughs specifically, the standard flat beater that ships with every mixer is doing exactly what a much pricier specialty tool would do.
How to Tell When Creaming Is Actually Done
A common mistake is creaming by the clock rather than by appearance, since mixer strength and butter temperature both change how long creaming actually takes. Properly creamed butter and sugar should look pale, almost off-white, and noticeably fluffier in volume than when you started — usually somewhere between two and four minutes on medium speed with a standard flat beater, though this varies by mixer wattage and batch size. If the mixture still looks yellow and dense, it needs more time; if it looks glossy or is starting to look slightly separated, it’s been overcreamed and has taken on more air than the recipe wants.
Fixing Streaky, Unmixed Butter
If you consistently see streaks of unincorporated butter clinging to the sides of the bowl after creaming, the fix is almost never a different attachment — it’s stopping the mixer partway through to scrape the bowl by hand, then resuming. Doing this once around the halfway point of the creaming stage catches the vast majority of streaking before it becomes a problem baked into the final dough.
4. The Flex Edge Beater: Less Scraping, More Consistency
The flex edge beater solves the flat beater’s one real weakness. It’s essentially the same paddle shape, but with a silicone strip along the outer edge that flexes against the bowl wall as it spins, continuously scraping butter, sugar, and flour back into the mixing zone. For anyone who bakes cookies often enough to find manual scraping tedious, it’s a worthwhile upgrade rather than a gimmick.
It’s particularly useful for recipes with mix-ins added late — chocolate chips, chopped nuts, dried fruit — because the constant scraping keeps those ingredients from clumping unevenly along the bottom edge of the bowl, which is a common cause of cookies that come out with mix-ins concentrated in some and missing from others.
| Situation | Flat Beater | Flex Edge Beater |
|---|---|---|
| Standard drop cookie dough | Works well | Works well, less manual scraping |
| Recipes with late-added mix-ins | Can clump unevenly | Distributes more evenly |
| Very stiff dough (shortbread, thumbprint) | Handles it fine | Silicone edge under more strain, still fine for home use |
| Batch baking / frequent use | More hands-on scraping over time | Saves meaningful time over many batches |
If your mixer came with only the standard three attachments, the flex edge is the single most useful add-on purchase for a household that bakes cookies regularly, ahead of specialty tools like pasta rollers or ice cream bowls.
Is the Cost Difference Worth It?
The flex edge beater typically costs more than a standard replacement flat beater, and for someone who bakes a batch of cookies a handful of times a year, that premium is hard to justify purely on a cost-per-use basis. For a household baking weekly, running a home bakery out of the kitchen, or batch-cooking dough for the freezer, the time saved on manual scraping across dozens of sessions adds up quickly enough that most reviewers who’ve used both consider it worth the upgrade. The honest recommendation is to start with the standard flat beater that came with the mixer, and only add the flex edge once scraping fatigue actually becomes a recurring annoyance rather than a hypothetical one.
5. The Wire Whip — Use With Caution
The wire whip is built to whip air into thin, liquid mixtures — egg whites, heavy cream, thin cake batters — and it is the wrong default choice for cookie dough. Its thin wires pass through stiff dough without properly creaming it, and if it does grab the dough, it can incorporate far more air than a cookie recipe wants, leading to cookies that puff and then collapse into a denser, greasy texture after baking.
There are a small number of exceptions where the wire whip has a legitimate, narrow role in cookie baking:
- Meringue-based cookies (meringue kisses, macarons, some biscotti recipes that start with whipped egg whites) — here the whip is correct because you’re intentionally building an airy foam.
- Whipping cream for a filling or topping that accompanies sandwich-style cookies — this uses the whip on a separate component, not the dough itself.
Outside those two cases, if a recipe calls for creaming butter and sugar, reach for the flat beater or flex edge, not the whip.
6. The Dough Hook: Why It’s Wrong for Most Cookies
The dough hook is designed to knead yeasted bread dough, developing long gluten strands that give bread its chew and structure. Cookie dough generally wants the opposite: minimal gluten development, so the final texture stays tender rather than tough. Using the dough hook on standard cookie dough over-develops the flour and produces cookies that bake up dense and chewy in an unpleasant, bread-like way rather than the soft or crisp texture the recipe intended.
| Cookie Type | Dough Hook Appropriate? | Why |
|---|---|---|
| Chocolate chip, sugar, oatmeal | No | Overdevelops gluten, makes texture tough |
| Shortbread, sandy/crumbly cookies | No | Needs minimal mixing, not kneading |
| Bagel-style or pretzel-style “cookies” | Sometimes | These are closer to bread dough by design |
| Large-batch commercial bread-adjacent doughs | Yes | Not a true cookie category |
If a recipe you’re following specifically calls for the dough hook and the end product is described as a bread-style dough rolled and shaped like a cookie, that’s the rare legitimate exception. For anything described as a standard drop, rolled, or bar cookie, skip it.
A Simple Way to Picture the Difference
It helps to think about what each tool is mechanically doing to the flour once it’s added. The flat beater folds and presses flour into the fat mixture in short, repeated strokes, which limits how much the gluten strands in the flour link up with each other. The dough hook does the opposite on purpose — it stretches and folds the dough repeatedly in a kneading motion specifically to build up those gluten connections, because that’s what gives bread its characteristic chew and rise. Applying a bread-kneading motion to a cookie dough that was never meant to develop that structure is what produces the tough, dense result bakers run into when they reach for the wrong hook out of habit.
7. Attachment Compatibility Across KitchenAid Mixer Models
Not every attachment fits every KitchenAid mixer, and this trips up more home bakers than any other part of the buying process. KitchenAid mixers split broadly into tilt-head models (Classic, Artisan, Artisan Mini) and bowl-lift models (Professional, Heavy Duty, Commercial), and the two families use differently sized attachment hubs and shaft configurations.
- Tilt-head mixers (4.5–5 qt bowls) use one attachment sizing standard across most of the range, including the Artisan line most home bakers own.
- Bowl-lift mixers (5–8 qt bowls), including the Professional 600 and Professional 5 Plus, use a different, generally larger attachment sizing.
- The compact Artisan Mini uses smaller attachments sized specifically for its reduced bowl capacity, and full-size attachments will not fit it.
What This Means in Practice
For most home bakers, this compatibility split rarely comes up, since the mixer usually already comes with correctly sized attachments in the box. It becomes relevant the moment you go looking for a replacement flat beater after years of use, or decide to buy a flex edge beater as an upgrade, since those searches often surface listings for both hub families side by side without always making the distinction obvious in the product title. A quick cross-check against your mixer’s model number, found on a small plate near the base of the mixer head, is worth the extra minute before adding anything to a cart.
Before buying a replacement or upgraded attachment, check your mixer’s model number against the manufacturer’s fit chart — attachments are not universally interchangeable across the whole KitchenAid lineup, even though they look similar in photos. For a side-by-side of how the two most common home models differ beyond just attachments, see this KitchenAid Artisan vs. Professional 600 comparison.
Why the Hub Shape Matters
The visible mismatch usually shows up at the attachment hub — the metal fitting that locks into the top of the mixer’s beater shaft. Tilt-head models generally use a hub sized for their standard shaft diameter, while bowl-lift models are built around a larger motor and a correspondingly larger shaft and hub. An attachment sized for the wrong family may look almost identical in a product photo but will either refuse to lock in place, sit loosely and wobble during mixing, or in some cases not seat far enough onto the shaft to engage the mixer’s built-in beater height adjustment correctly. None of that is a defect in the attachment or the mixer individually — it’s simply two parts from different sizing families that were never meant to pair together.
The safest way to avoid this entirely is to search by full model number rather than by mixer series name when shopping for a replacement or upgrade attachment, since series names like “Artisan” sometimes span more than one bowl size and, occasionally, more than one hub configuration.
8. Full Comparison Table: Flat Beater vs. Flex Edge vs. Wire Whip vs. Dough Hook
| Attachment | Best For | Avoid For | Scraping Needed | Cookie Suitability |
|---|---|---|---|---|
| Flat Beater | Almost all cookie doughs | Meringues, whipped cream | Manual, occasional | Excellent |
| Flex Edge Beater | Frequent baking, mix-in-heavy dough | Meringues | Mostly self-scraping | Excellent |
| Wire Whip | Meringue cookies, whipped toppings | Standard creamed dough | N/A | Poor (except meringue-based) |
| Dough Hook | Yeasted bread, bread-style dough | Standard cookie dough | N/A | Poor |
Used against the wrong dough type, this reordering flips almost entirely — which is exactly why matching attachment to recipe type matters more than defaulting to whichever attachment happens to already be on the mixer.
9. Best Attachment by Cookie Type
Chewy Cookies (Chocolate Chip, Oatmeal)
Use the flat beater or flex edge on low-to-medium speed for creaming, then mix in flour on the lowest speed just until combined. Overmixing at this stage is the single biggest cause of tough, cakey chewy cookies.
Crispy, Thin Cookies
Flat beater, with slightly longer creaming time to incorporate a bit more air, which helps the cookie spread and thin out as it bakes rather than staying puffed.
Cakey Cookies
Flat beater at medium speed for creaming, since these recipes intentionally want more air incorporated to mimic a light, cake-like crumb.
Sandy or Shortbread-Style Cookies
Flat beater on the lowest speed throughout — these doughs use very little to no leavening and depend on minimal air and minimal gluten development for their signature crumbly texture.
Meringue-Based Cookies
Wire whip, as covered in Section 5, is the correct and only appropriate choice here.
Bar Cookies and Blondies
Flat beater for the creaming stage, same as a standard drop cookie, since bar cookies are structurally closer to a dense cake batter than to bread. The main difference in technique is that most bar cookie recipes tolerate slightly more mixing at the flour stage than a delicate drop cookie would, because the thicker pan format is more forgiving of a little extra gluten development.
Biscotti and Twice-Baked Cookies
Flat beater, though expect the dough to feel notably stiffer than a standard cookie dough by the time all the flour is incorporated. If the dough starts to strain the motor audibly on a lighter-duty tilt-head mixer, switching to a lower gear and finishing the last of the flour by hand is a reasonable adjustment rather than forcing the machine through it.
No-Bake Cookies
These typically involve stovetop mixing rather than a stand mixer at all, but when a stand mixer is used to combine a stiff no-bake mixture off the heat, the flat beater is still the correct tool — the dough hook and wire whip remain unsuitable regardless of cookie category.
For bakers experimenting across several of these categories in one session, having accurate kitchen scales and consistent measuring cups on hand matters just as much as attachment choice, since inconsistent measuring is the other leading cause of texture problems that get mistakenly blamed on the mixer.
10. Speed and Technique Guide
Attachment choice is only half of the equation — mixer speed determines how much of that attachment’s potential actually shows up in the finished dough.
| Stage | Recommended Speed | Why |
|---|---|---|
| Creaming butter and sugar | Medium (4–6) | Enough air incorporation without overwhipping |
| Adding eggs | Low-medium (2–4) | Prevents curdling or splitting the mixture |
| Adding dry ingredients | Lowest (1–2) | Minimizes gluten development and flour dust |
| Folding in mix-ins | Lowest or by hand | Prevents crushing chips, nuts, or dried fruit |
A common mistake is running the mixer on a single speed for the entire process. Stepping the speed down as ingredients get added — rather than leaving it constant — is what actually prevents the tough, overworked texture that gets blamed on “using the wrong attachment” when the attachment was fine and the speed was the problem.
How Long Is Too Long?
Timing guidance is more useful as a range than as a fixed number, since mixer wattage, batch size, and butter temperature all shift it. As a general reference point, creaming usually falls somewhere between two and four minutes, egg incorporation is quick — typically under a minute per egg — and the dry ingredient stage should be treated as a “just until combined” step rather than a timed one, often finishing in well under thirty seconds once the mixer is on its lowest setting. Watching the dough rather than watching the clock produces more consistent results across different recipes and different mixer models than following a single fixed timing chart.
11. Attachment Care, Cleaning, and Longevity
The flat beater and flex edge beater are dishwasher-safe on most models, though hand-washing extends the life of the flex edge beater’s silicone strip, which can degrade faster with repeated high-heat dishwasher cycles. Rinse attachments promptly after use — dried, hardened butter and sugar residue is significantly harder to remove once it sets, especially in the seam where the flex edge’s silicone meets the metal paddle.
- Hand-wash the flex edge beater when possible to protect the silicone edge
- Dry attachments fully before storing to prevent the metal hub from developing rust spots
- Inspect the flex edge silicone periodically for cracking or separation from the metal frame, and replace it if it starts to shed material into dough
- Store attachments somewhere they won’t get dented, since a bent paddle can start scraping unevenly against the bowl
A dedicated spot for attachments — rather than a loose kitchen drawer — also makes a real difference here; see this guide to storing kitchen appliances and attachments for practical setups that keep small parts from getting damaged between uses.
Keeping the Attachment Hub in Good Condition
The metal hub where the attachment locks into the mixer shaft benefits from an occasional light wipe-down, since flour dust and dried batter can build up in that fitting over time and make attachments feel stiffer to lock in and remove. Avoid submerging the mixer’s beater shaft area itself in water — only the attachments should go in the sink or dishwasher, never the mixer head. If an attachment starts feeling gritty or difficult to seat fully, a dry cloth wipe of both the hub and the shaft before the next use usually resolves it without needing any lubricant or disassembly.
12. Buying Guide: Getting the Real Thing
KitchenAid attachments are widely counterfeited, and a mismatched or off-brand paddle can wobble against the bowl, scrape unevenly, or simply not lock into the attachment hub correctly. When buying a replacement or upgrade attachment, a few checks help confirm you’re getting a genuine, correctly fitted part:
- Match the attachment listing to your exact mixer model number, not just “KitchenAid stand mixer” generically
- Look for the KitchenAid brand stamp on the metal hub of the attachment itself
- Buy from the manufacturer, an authorized retailer, or a marketplace listing that explicitly states genuine KitchenAid parts
- Be wary of unusually low prices on the flex edge beater specifically, since the silicone edge is the most commonly counterfeited component
If you’re still deciding on the mixer itself rather than just an attachment, it’s worth comparing options before committing, since attachment compatibility is one of the biggest long-term costs of switching brands later. These comparisons cover that ground in more depth: KitchenAid vs. Cuisinart, Breville vs. KitchenAid, and Ankarsrum vs. KitchenAid.
Warranty Considerations
Genuine KitchenAid attachments purchased new typically carry their own limited warranty separate from the mixer’s warranty, while off-brand or unverified third-party attachments generally carry no meaningful warranty at all and, in some cases, can void coverage on the mixer itself if a defect in the attachment causes damage to the motor or gearbox. Keeping the receipt or order confirmation for any attachment purchase is a small habit that matters far more than it seems to until the one time an attachment actually fails.
Frequently Asked Questions
What is the best KitchenAid attachment for cookies?
The flat beater (paddle attachment) is correct for nearly every cookie recipe, since it creams butter and sugar evenly without overwhipping. The flex edge beater does the same job with less manual bowl-scraping.
Can I use the whisk attachment for cookie dough?
Generally no. The wire whip is built for thin, aerated mixtures and tends to underperform on stiff cookie dough. The main exception is meringue-based cookies, where whipping air into egg whites is the intended technique.
Should I use the dough hook for cookies?
Almost never. The dough hook develops gluten the way bread kneading does, which makes standard cookie dough turn out tough rather than tender. It’s only appropriate for cookie-shaped doughs that are actually bread-style by design.
Is the flex edge beater worth buying separately?
For anyone baking cookies regularly, yes. It removes most of the manual bowl-scraping the standard flat beater requires and distributes late-added mix-ins more evenly.
Do all KitchenAid attachments fit every mixer model?
No. Tilt-head models and bowl-lift models generally use different attachment sizing, and the compact Artisan Mini uses smaller attachments than full-size mixers. Always check compatibility against your specific model number.
Why did my cookies turn out tough after using the mixer?
This is usually caused by overmixing once flour is added, mixing at too high a speed, or using the dough hook instead of the flat beater — not a defect in the mixer itself.
Why did my cookies spread too thin?
Excess air from overcreaming, butter that was too warm before mixing, or too little flour relative to fat are the most common causes, more often than the attachment choice itself.
What speed should I use for creaming butter and sugar?
Medium speed (roughly 4–6 on most KitchenAid dials) creams evenly without whipping in excess air.
Can I use the flat beater for bread dough instead of the dough hook?
It’s not recommended for a full kneading cycle, since the flat beater isn’t built to withstand the sustained resistance of dense, elastic bread dough the way the dough hook is.
Is it safe to run the mixer on high speed with stiff cookie dough?
It’s better to avoid this. Very stiff dough on high speed puts unnecessary strain on the motor and gearbox over time and rarely produces better mixing results than a lower, steadier speed.
How do I know if my flex edge beater needs replacing?
If the silicone edge is cracked, peeling away from the metal frame, or leaving visible residue in the dough, it’s time to replace it.
Can I use a hand mixer instead of a stand mixer for cookie dough?
Yes, for most standard recipes, though very stiff doughs like shortbread or thick peanut butter cookie dough can strain a hand mixer’s motor more than a stand mixer’s. A stand mixer’s flat beater generally handles stiff dough with less effort and less risk of overheating the motor.
Why does my dough climb up the flat beater instead of mixing evenly?
This is usually a sign the dough is stiffer than the recipe expects, often from slightly too much flour or under-softened butter. Scraping the beater and bowl by hand partway through, and confirming butter is properly softened, typically resolves it without needing a different attachment.
Does bowl size affect which attachment I should use?
Bowl size affects which sized attachment fits your specific mixer, but it doesn’t change which attachment type is correct for cookies. A larger bowl-lift mixer still uses the flat beater as its primary cookie-dough tool — it simply uses a larger version of it than a compact tilt-head model would.
Final Verdict
For the vast majority of cookie recipes, the flat beater is the right attachment, full stop — and if you bake often enough that manual bowl-scraping has become annoying, the flex edge beater is a genuinely useful upgrade rather than an unnecessary extra. The wire whip and dough hook both have narrow, legitimate roles in cookie baking, but reaching for either one as a default for standard creamed cookie dough is the most common attachment mistake home bakers make.
Get the attachment right, step the mixer speed down as flour and mix-ins go in, and the texture problems that usually get blamed on “the recipe” tend to disappear. Attachment choice, butter temperature, and speed control account for the large majority of cookie texture complaints — far more often than the recipe itself being at fault, and far more often than any single ingredient swap would.


