Small-Space Kitchen Design
How to Make a Small Kitchen Look Bigger
Twelve tested design moves — from color and lighting to layout and storage — that visually expand a cramped kitchen without a single wall coming down.
A small kitchen doesn’t have to feel like a galley you’re trying to escape. The difference between a kitchen that feels boxed-in and one that feels open and airy usually has very little to do with square footage — and almost everything to do with color, light, sightlines, and how much visual “noise” is sitting on your counters. Below are twelve design moves, drawn from what actually shows up in before-and-after kitchen renovations, that make a small kitchen read as bigger the moment you walk in. None of them require moving a wall, and most can be done over a weekend.
Understand Why Small Kitchens Feel Cramped
Before changing anything, it helps to know what’s actually making a kitchen feel tight. It’s rarely just the square footage. Most small kitchens feel smaller than they are because of a combination of dark or busy colors, poor lighting, cluttered countertops, and a layout that blocks sightlines to the rest of the room. Your eye reads a space by how far it can travel before hitting a visual obstacle — a stack of mail, an overhead cabinet that runs wall to wall, a dark backsplash that swallows light. Each of those obstacles shortens that sightline and makes the brain register “small,” even in a kitchen with perfectly reasonable dimensions.
This matters because it means the fix isn’t structural. You’re not fighting the room’s footprint; you’re fighting the visual cues that make the footprint feel smaller than it is. Once you start thinking in terms of sightlines, reflectivity, and clutter instead of square feet, every recommendation in this guide starts to make a lot more sense — and you can prioritize the changes that will move the needle fastest in your specific kitchen.
Choose a Light, Cohesive Color Palette
Color is the single fastest lever you can pull in a small kitchen. Light, warm neutrals — soft whites, creams, light greiges, and pale sages — bounce ambient light around a room instead of absorbing it. Dark, saturated colors do the opposite: they visually recede into shadow and make walls feel closer than they are. That’s not to say you can’t use color in a small kitchen; it just needs to be deployed carefully.
The trick that professional designers use is minimizing the number of distinct colors and finishes in the room. When cabinets, walls, countertops, and backsplash are all pulling from the same tight, light palette, the eye doesn’t have to work to parse where one surface ends and another begins — everything reads as one continuous, larger volume. The moment you introduce three or four competing colors (dark lower cabinets, white uppers, a busy patterned backsplash, and a contrasting floor), the room gets visually chopped into smaller pieces, even if nothing physically changed.
Palette guidelines that work in almost any small kitchen
- Keep wall and upper-cabinet colors within one or two shades of each other
- Use a monochromatic backsplash rather than a high-contrast pattern
- If you want a bold accent color, save it for a single, small element — a runner rug, a set of barstools, or open shelf styling
- Match grout color to tile color to avoid a “grid” effect that visually shrinks a wall
| Palette Style | Effect on Small Kitchens | Best Paired With |
|---|---|---|
| All-white / soft cream | Maximizes brightness and reflectivity | Warm wood accents, brass hardware |
| Light greige / warm gray | Softens glare, still feels open | Matte black fixtures, natural stone |
| Pale sage or dusty blue | Adds color without visual weight | Light oak, white counters |
| High-contrast dark + white | Can shrink the room if overused | Use only as a small accent, not the base |
If you’re deciding what to paint alongside your cabinets, our guide to the best paint for kitchen cabinets breaks down finishes that hold up to daily cooking without yellowing over time.
Maximize Natural and Artificial Light
Light is doing double duty in a small kitchen: it’s both a practical necessity and a spatial illusion tool. A dim kitchen reads as small no matter how light the paint color is, because shadow re-introduces the visual “edges” that a bright, even wash of light erases. The goal is layered lighting — ambient, task, and accent — rather than a single overhead fixture casting shadows into corners.
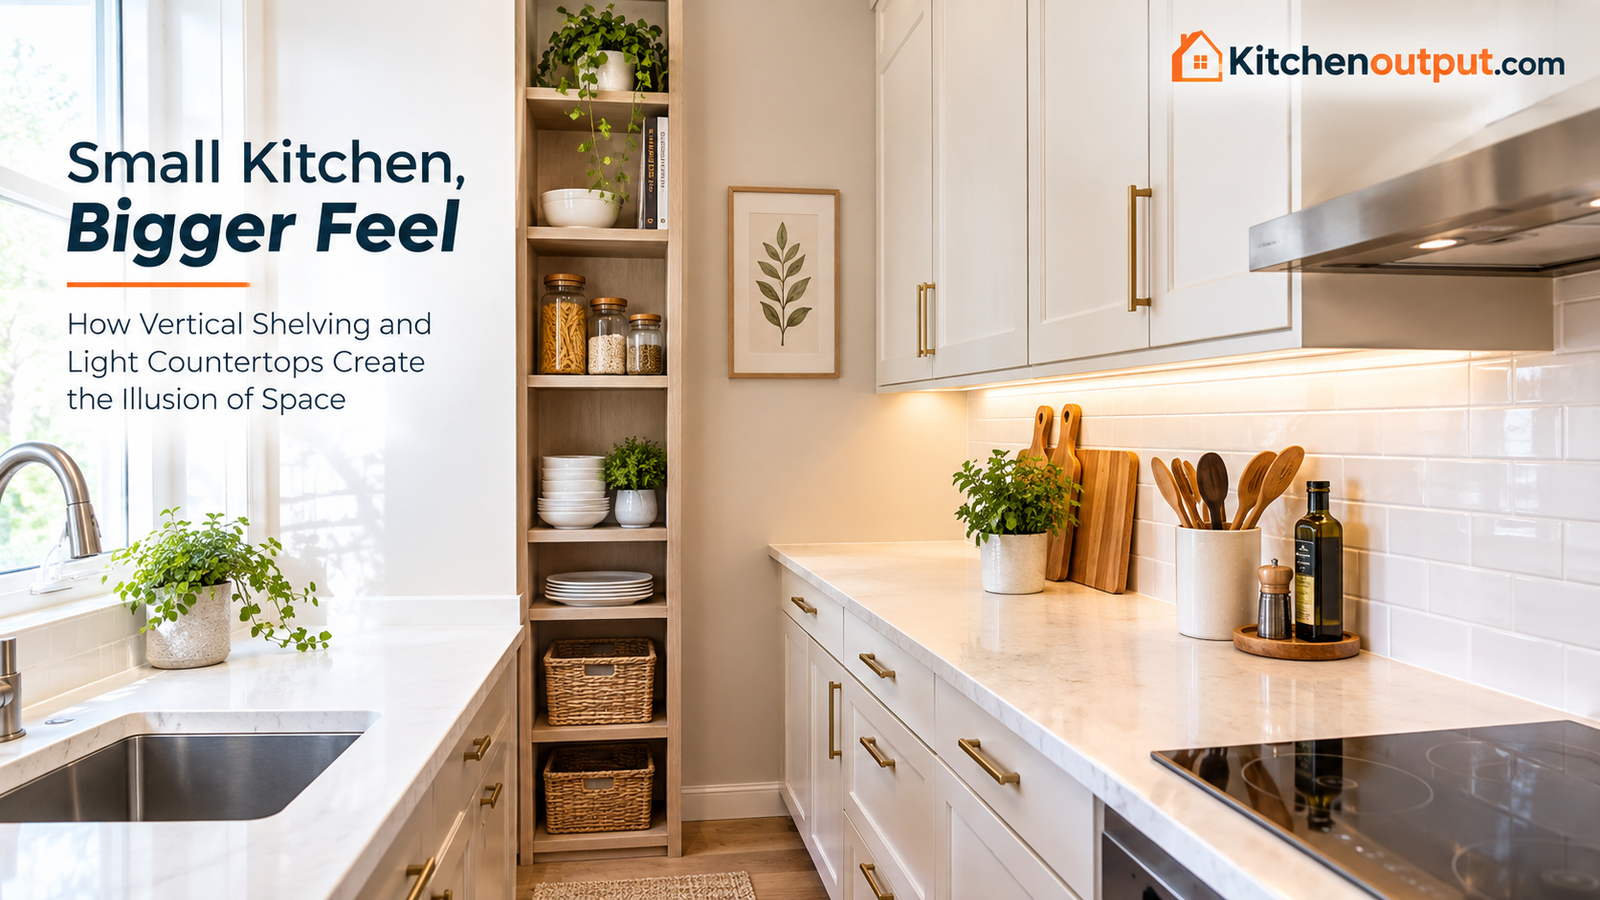
Start with anything blocking natural light: heavy curtains, dark window film, or plants crowding a windowsill. Swap heavy drapes for a sheer roman shade or none at all if privacy allows. Then layer in task lighting under upper cabinets, which does more to visually “lift” a small kitchen than almost any other single change — it eliminates the dark band that usually sits just above the counter and pulls attention downward, making the whole vertical space feel taller.
A simple lighting layering plan
- Ambient: one flush-mount or a few small recessed lights for even overall brightness
- Task: LED strip lighting under upper cabinets, aimed at the counter
- Accent: a single pendant over a sink or peninsula to add height and visual interest
Do
- Use warm-white LEDs (2700K–3000K) for a cozy, not clinical, glow
- Add a dimmer so brightness can flex by time of day
- Keep window treatments minimal
Avoid
- Relying on a single centered overhead fixture
- Cool-white (5000K+) bulbs, which can feel harsh in a small room
- Dark lampshades or fixtures that absorb light instead of casting it
Use Reflective Surfaces and Mirrors Strategically
Reflective surfaces essentially “borrow” light and space from wherever they’re pointed. A glossy backsplash tile, a polished stone counter, or stainless steel appliances all bounce light deeper into a room than a matte surface would. This is one of the reasons glass-tile backsplashes have become such a fixture in small-kitchen renovations — they act almost like a soft mirror running the length of the counter.
A true mirror can go even further. Installed as a backsplash panel behind a stove or sink — somewhere it won’t take grease splatter directly — a mirror doubles the perceived depth of that wall. Even a narrow mirrored strip between the counter and upper cabinets can make a galley kitchen feel like it has a second layer of depth. Metallic hardware (brushed brass, polished nickel, or chrome pulls) contributes a smaller version of the same effect.
Clear and Streamline Your Countertops
Countertop clutter is the single most common reason a small kitchen photographs — and feels — smaller than it is. Every appliance, jar, or stack of mail sitting on the counter shortens the visible run of usable surface, and a short, broken-up counter reads as a small kitchen even when the actual dimensions are generous.
The fix isn’t necessarily getting rid of everything; it’s being ruthless about what earns permanent counter real estate. A good rule of thumb: if you use it daily (a coffee maker, a knife block), it can stay out, styled neatly. Everything else — the stand mixer used twice a month, the air fryer, the blender — goes into a cabinet, a pantry, or an appliance garage with a tambour door.
A quick countertop audit
Keep visible
- Daily-use coffee or espresso maker
- Knife block or magnetic strip
- One small plant or bowl for visual softness
Store away
- Appliances used less than weekly
- Mail, keys, and paper clutter — give them a drawer or wall tray instead
- Duplicate tools (three spatulas when you use one)
If you’re not sure which appliances are worth the counter space in the first place, our kitchen appliance buying guide and list of must-have kitchen appliances can help you separate what earns a spot from what’s better off in a cabinet.
Optimize Vertical Storage Space
Most small kitchens are underusing the one dimension they actually have plenty of: height. Cabinets that stop short of the ceiling leave a dead zone that collects dust and does nothing for storage or visual flow. Extending cabinetry to the ceiling — or adding a slim shelf above existing cabinets — draws the eye upward, which makes the entire room feel taller and, by extension, larger.
Inside cabinets, vertical dividers for baking sheets and cutting boards, stackable shelf risers, and door-mounted racks all multiply usable storage without adding a single inch of footprint. The goal is to get as much as possible off the counter and out of deep, hard-to-reach lower cabinets, and into vertical space that’s otherwise wasted.
Choose the Right Cabinet Style and Finish
Cabinet door style has a bigger visual impact than most homeowners expect. Slab or shaker-style doors with minimal detailing read as clean and open; ornate raised-panel doors with heavy trim add visual texture that can make a small kitchen feel busier and, paradoxically, smaller. If a full cabinet replacement isn’t in the budget, swapping just the hardware — thinner, simpler pulls in a lighter finish — can soften a heavy, dated cabinet front considerably.
Glass-front upper cabinets are another underused trick. Because they let the eye see through to the wall behind rather than stopping at a solid door, they create a subtle sense of extra depth. Even converting one or two upper cabinets near a sink or window to glass fronts, styled with a few neutral dishes, can lighten an entire wall.
| Cabinet Style | Visual Effect | Budget Level |
|---|---|---|
| Slab / flat-front | Cleanest, most spacious look | Moderate |
| Shaker | Simple detail, still feels open | Low–Moderate |
| Glass-front upper | Adds visual depth | Low (partial swap) |
| Raised panel / ornate | Adds texture, can feel heavier | Higher |
Downsize to Space-Saving Appliances
Full-size appliances designed for large kitchens can dominate a small one. A 36-inch range or an oversized side-by-side refrigerator might have the capacity you want, but if it’s eating four extra inches of clearance on either side, that’s four inches you’re not getting back anywhere else. Slimmer, apartment-scale versions of the same appliances — 24-inch ranges, counter-depth refrigerators, two-slice rather than four-slice toasters — often perform nearly as well while giving the room back valuable inches of walking and counter space.
The same logic applies to smaller countertop appliances. A compact air fryer or a slim two-cup coffee maker takes up meaningfully less counter footprint than a full-size version, without necessarily sacrificing the features you actually use day to day.
If you’re weighing which small-format machines are worth it, comparisons like air fryer vs. oven and guides like best small digital air fryers can help you find a compact option that still covers your everyday cooking needs.
Add Multi-Functional Furniture and Fixtures
In a small kitchen, every piece of furniture should ideally do more than one job. A narrow rolling cart can serve as extra prep space, a bar cart, and mobile storage all at once — and can be tucked against a wall or under a counter overhang when it’s not in use. A drop-leaf or extendable table can seat two for a weekday breakfast and expand to seat four when needed, without permanently occupying the larger footprint.
Pull-out cutting boards that slide over a drawer, fold-down wall-mounted desks or prep shelves, and stools that nest completely under a counter overhang are all in the same category: features that exist only when you need them, and disappear the rest of the time.
Create Visual Flow With Flooring and Sightlines
Flooring choices affect perceived size more than most people expect. Running the same flooring material from the kitchen into an adjacent room — rather than switching materials at a doorway threshold — removes a visual “stop sign” that would otherwise mark the kitchen as a separate, boxed-in space. Diagonal tile layouts and wide-plank flooring running the long direction of the room can also stretch the perceived length of a narrow galley kitchen.
Beyond flooring, think about what’s actually blocking the sightline out of the kitchen. A bulky island where a slim peninsula would do, an opaque pantry door where a lighter, glass-paned one could work, or heavy window treatments can all be quietly narrowing the visual path between the kitchen and the rest of your home.
Install Strategic Open Shelving
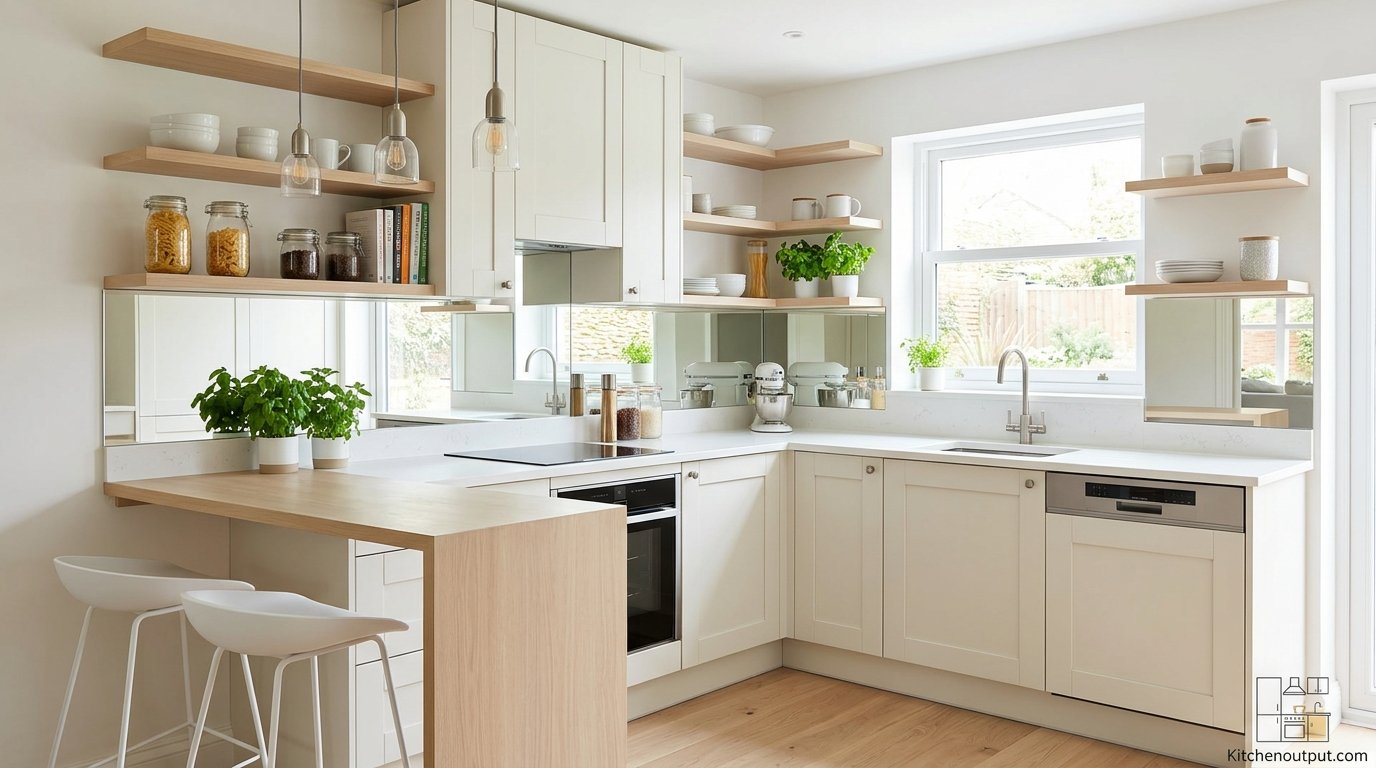
Swapping one or two upper cabinets for open shelving is one of the more dramatic small-kitchen tricks, because it removes bulky cabinet boxes and replaces them with a thin, light plane that the eye reads right past. Open shelves also let wall color continue behind them, reinforcing the sense of a continuous surface rather than a stacked, boxy one.
The caveat: open shelving only reads as spacious when it’s styled with restraint. A few matching plates, some glassware, and one or two plants or ceramics look intentional; a shelf packed edge-to-edge with mismatched dishware reintroduces the same visual clutter you were trying to eliminate in the first place. Keep it to roughly 60–70% full, with breathing room between groupings.
Build in Smart Organization Systems
The last piece is making sure everything you’ve decluttered and stored away has an actual home, so it doesn’t drift back onto the counter within a month. Drawer dividers for utensils, pull-out trash and recycling bins, a labeled pantry system, and door-mounted racks for cutting boards or foil all reduce the daily friction that leads to clutter creeping back.
This is also where it’s worth thinking about what to store where. Daily tools belong within arm’s reach of where they’re used; occasional-use items can live in harder-to-reach upper cabinets or a pantry. Our guide on how to store kitchen appliances and our broader piece on how to organize a small kitchen both go deeper into zone-based organization if you want a full system rather than a few isolated fixes.
Matching the Fix to Your Kitchen Layout
Not every small kitchen is small in the same way, and the right fix often depends on the shape you’re working with. A narrow galley kitchen — two parallel counters facing each other — usually struggles most with the sightline running down its length, so flooring direction, under-cabinet lighting, and a light, continuous color palette tend to matter more here than almost anywhere else. Widening the visual “hallway” effect with a mirror at the far end, if there’s a wall to work with, can make a meaningful difference in a galley layout specifically.
An L-shaped small kitchen typically has one long uninterrupted run and one shorter leg, which makes it a strong candidate for open shelving on the shorter wall and a full-height pantry cabinet tucked into a corner, since corner space in an L-shape is often the most underused area in the room. A compact U-shaped kitchen, meanwhile, tends to feel the tightest of the three because it’s enclosed on three sides — here, glass-front cabinets and a lighter countertop color usually do more work than they would in an open galley layout, since there’s less opportunity for light to travel in from an adjoining room.
If your small kitchen opens into a dining or living area, treat that opening as an asset rather than an afterthought. A peninsula with open shelving instead of a solid half-wall, or simply removing a swinging door in favor of an open doorway, lets light and sightlines move freely between the two spaces — which does more for perceived size than almost any single change confined to the kitchen itself.
Common Mistakes That Undo These Changes
It’s just as useful to know what quietly cancels out the effort you’ve already put in. A few patterns show up again and again in small kitchens that “should” feel bigger but don’t:
- Over-decorating open shelving. A styled shelf reads as spacious; a shelf treated as extra storage for everything that didn’t fit in a cabinet reads as clutter with better lighting.
- Skipping the toe-kick and crown areas. Dark, unfinished gaps at the top and bottom of cabinetry create small shadow lines that break up an otherwise continuous, light run of cabinets.
- Choosing a rug or runner that’s too small. A rug that stops well short of the cabinetry on either side visually shrinks the floor area it’s meant to define; sizing it to nearly reach the counters on both sides has the opposite effect.
- Letting cords and chargers live on the counter. A single visible charging cable or a tangle of cords behind a coffee maker undoes a lot of the visual calm that decluttering was meant to create. A basic cord clip or a drawer with a cutout for a power strip solves this permanently.
- Mixing metal finishes without a plan. Brass faucet, chrome cabinet pulls, and a stainless appliance can each look fine individually but read as visually busy together. Picking one or two finishes and repeating them consistently keeps the room feeling cohesive and, by extension, larger.
Rental-Friendly Changes That Don’t Require Renovation
If you’re working with a rental kitchen where paint, cabinets, and flooring are off the table, most of the same principles still apply through removable, non-permanent options. Peel-and-stick backsplash tile can add the same reflective, cohesive-color effect as a permanent tile installation, and it typically removes cleanly at the end of a lease. Battery-powered, stick-on LED puck lights or strips deliver the same under-cabinet lighting benefit without any wiring or landlord approval. Tension rods and freestanding shelving units can substitute for built-in vertical storage, and a bright, well-chosen area rug can visually anchor and lighten a rental kitchen’s floor without a flooring change.
Command hooks and adhesive organizers inside cabinet doors — for lids, spice jars, or cutting boards — recreate much of the vertical-storage benefit described earlier, and a simple rolling cart remains one of the highest-value, fully portable additions for any rental kitchen that’s tight on both storage and prep space.
Putting It All Together: A Simple Priority Order
If you can only tackle a few of these changes right now, prioritize in this order for the biggest visible impact per hour of effort: clear the counters first, since it’s free and immediate; add under-cabinet lighting next, since it’s a low-cost, high-impact upgrade; then move to color and hardware if a light renovation is on the table. Structural changes like extending cabinets to the ceiling or swapping flooring are worth planning for, but they shouldn’t hold up the smaller wins you can make this weekend.
For a broader shopping list of the appliances, tools, and gear worth having in any kitchen — small or large — our roundup of essential kitchen tools and equipment is a useful next stop, along with our notes on what to put on kitchen counters and, more specifically, what not to.
It’s worth revisiting your kitchen every few months with fresh eyes, since clutter and mismatched additions tend to creep back in gradually rather than all at once. A quick seasonal pass — clearing anything that’s landed on the counter, checking that shelves haven’t crept past that 60–70% styled threshold, and confirming under-cabinet lighting is still doing its job — keeps the improvements from quietly reversing themselves over time. Small kitchens, more than any other room in the house, reward that kind of ongoing maintenance, because the margin between “feels spacious” and “feels cramped” is often just a few stray items on a counter.
Frequently Asked Questions
What color makes a small kitchen look the biggest?
Soft, warm whites and light neutrals tend to make a small kitchen feel largest because they reflect the most ambient light and create the least visual contrast between surfaces. Cohesion matters as much as the specific shade — keeping walls, cabinets, and backsplash within a tight, light color family reads as more spacious than any single “correct” paint color.
Should I remove upper cabinets to make my kitchen feel bigger?
Not necessarily. Removing all upper cabinets sacrifices storage that a small kitchen usually can’t afford to lose. A better middle ground is swapping one or two upper cabinets near a window or sink for open shelving or glass-front doors, which lightens the wall visually without giving up all the storage.
Does a mirror actually make a kitchen look bigger, or is that just for living rooms?
A mirror works in a kitchen too, though placement matters more. A mirrored backsplash panel away from direct grease splatter — behind a stove hood or along a dry stretch of wall — can meaningfully deepen the perceived space of a narrow galley kitchen.
Is it worth buying smaller appliances just to save space?
In a genuinely small kitchen, yes. A slimmer range, a counter-depth refrigerator, or a compact air fryer can free up several inches of clearance that make a real difference in how the room feels to move through, often without a noticeable drop in performance for everyday cooking.
What’s the fastest, cheapest way to make a small kitchen look bigger?
Clearing countertop clutter and adding warm, layered lighting are both free or very low-cost and can be done in a single afternoon. Together they address the two biggest culprits behind a kitchen feeling cramped: visual clutter and poor light distribution.
Does open shelving actually help, or does it just create more clutter?
It helps when it’s styled with restraint. Open shelving filled to capacity with mismatched dishware can look busier than closed cabinets. Kept to roughly 60–70% full with a cohesive color scheme, it reads as intentional and adds a sense of depth to the wall.
Should flooring match the rest of the house to make a kitchen feel bigger?
Running the same flooring material from the kitchen into adjoining rooms, rather than switching at the doorway, removes a visual break that otherwise signals “separate, smaller room.” It’s one of the more overlooked tricks for making an open-plan or galley kitchen feel connected to a larger space.
Are dark cabinets ever okay in a small kitchen?
Dark cabinets can work if they’re balanced with plenty of light elsewhere — a light backsplash, ample lighting, and a light countertop or floor. Used as the dominant color throughout a small, dim kitchen, though, dark cabinets tend to make the room feel noticeably smaller.
How much does it cost to make a small kitchen feel bigger without a full renovation?
Many of the highest-impact changes — decluttering, under-cabinet lighting, hardware swaps, and open shelving — can be done for a few hundred dollars total. A full repaint or backsplash replacement raises the budget but is still far less than a structural renovation.
Do glass cabinet doors actually add visual depth?
Yes. Because the eye sees through a glass-front door to the wall or shelf behind it, rather than stopping at a solid surface, glass fronts create a subtle layered depth that a solid door doesn’t. Styling what’s visible behind the glass, though, matters just as much as the glass itself.
What’s the biggest mistake people make when trying to make a small kitchen look bigger?
Adding too many colors and finishes at once. A new backsplash, a new floor, new cabinet hardware, and a bold accent wall all introduced together — especially in contrasting tones — tend to visually chop the room into smaller pieces rather than opening it up.
Final Thoughts
Making a small kitchen look bigger is less about any single dramatic change and more about consistently removing the visual friction that makes a room feel closed in — clutter, poor light, competing colors, and blocked sightlines. Start with what’s free: clear the counters and open up the lighting. From there, layer in color, reflective surfaces, and smarter storage at whatever pace your budget allows. None of these changes require a renovation permit, and most of them can be done, at least partially, this weekend.


