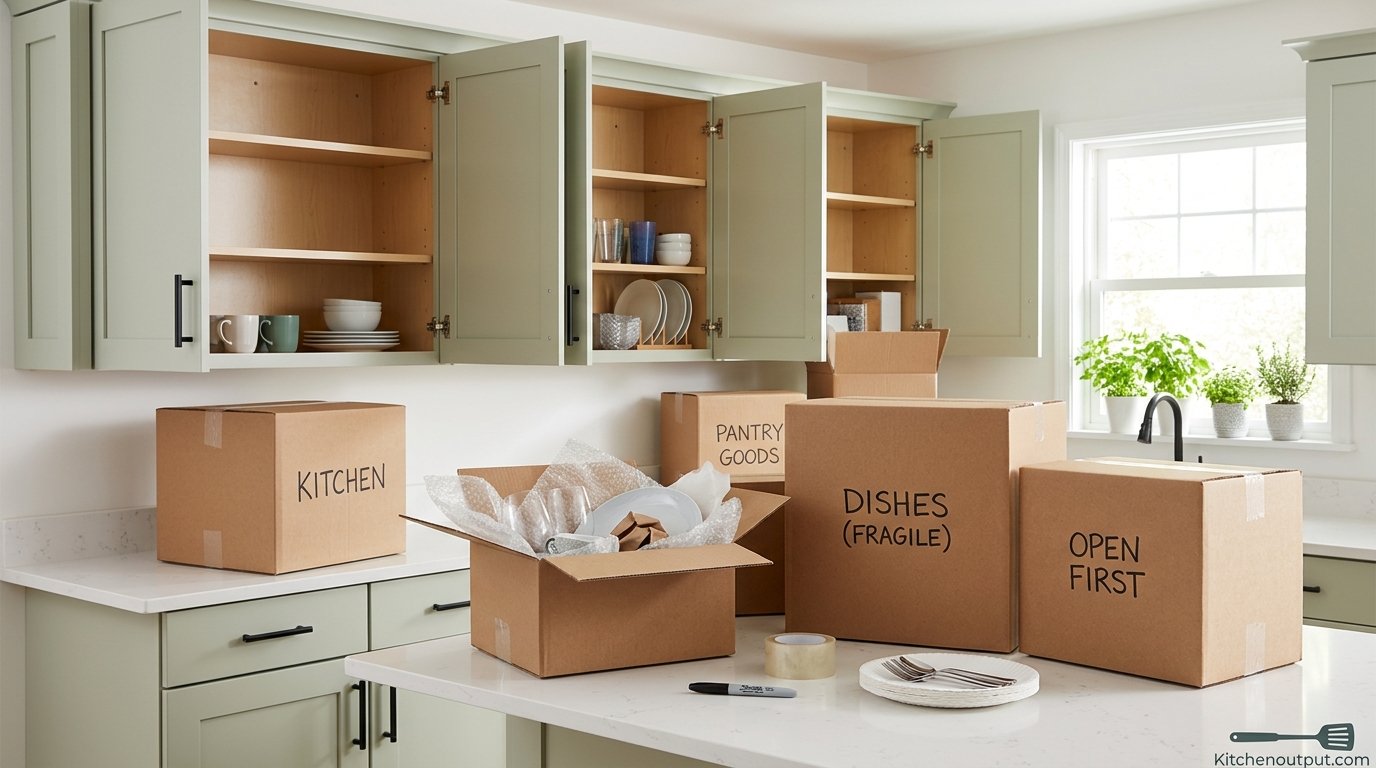
How to Pack a Kitchen for Moving Without Losing Your Mind (or Your Dishes)
Of every room in the house, the kitchen is the one movers dread and homeowners underestimate. It’s packed with fragile glassware, oddly shaped appliances, heavy cast iron, and a junk drawer that somehow weighs more than the refrigerator. The good news: packing a kitchen for a move isn’t complicated once you follow the right order of operations. Below is a complete, room-by-room method that protects your dishes, keeps your appliances working, and gets every box labeled so unpacking takes an afternoon instead of a week.
Declutter Before You Pack a Single Box
Every kitchen accumulates duplicate spatulas, chipped mugs, and gadgets that were used exactly once. Before any packing tape comes out, walk through every cabinet and drawer and sort contents into four piles: keep, donate, sell, and toss. This single step routinely cuts kitchen box count by 15–25%, which means less to carry, less to unpack, and fewer boxes you’ll pay a mover to move.
Donation runs are easiest done a week or two before your move date, since local charities often have pickup schedules. Items you plan to sell — a stand mixer, a barely-used espresso machine — are worth listing early, since kitchen appliances hold resale value better than almost anything else in the house. If you’re deciding what’s worth keeping versus replacing at the new place, our kitchen appliance buying guide is a useful gut-check.

Gather the Right Packing Supplies
Kitchen items are some of the heaviest and most breakable things you own, so generic boxes and a roll of tape won’t cut it. Before you start, collect small and medium boxes (heavy items like cast iron belong in small boxes so they stay liftable), dish-pack dividers or cell kits, packing paper, bubble wrap, stretch wrap for appliance cords, and a permanent marker plus colored labels for the system in Step 10.
Skip newspaper for anything you eat off of — the ink transfers and dishes need a real wash. Uline, Home Depot, and Lowe’s all sell dish-pack kits, but if you already own nesting mixing bowls or spare towels, those double as free padding for pots, pans, and small appliances.

Pack Dishes and Plates the Right Way (Vertical Method)
The single biggest mistake people make is stacking plates flat, the way they sit in a cabinet. Flat stacks concentrate pressure on the plate underneath and are the #1 cause of cracked dinnerware in transit. Instead, wrap each plate individually in packing paper, then stand plates on their edge like records in a crate. Vertical plates flex slightly under pressure instead of cracking.
Line the box bottom with two inches of crumpled paper before adding plates, and top the box off with more paper so nothing shifts. Fill any gaps at the sides with towels rather than leaving empty space — movement, not weight, is what breaks dishes. If you’re also replacing chipped everyday plates at the new house, this is a good moment to browse our kitchen essentials roundups for what’s worth upgrading.

Wrap Glassware and Stemware Safely
Glasses and stemware are the most fragile category in the kitchen, and the packing method matters more here than anywhere else. Stuff a small wad of paper inside each glass first — this stops the walls from collapsing inward under pressure — then wrap the outside in two full sheets of paper, twisting the ends closed. Stemware needs the stem wrapped separately before the bowl is wrapped, since the thin neck is the weak point.
Always pack glassware standing upright, never on its side, and never stack anything heavy on top of a glass box. A dedicated cell-divider box is worth the few extra dollars for anything you’d be upset to lose — crystal, wedding stemware, or a full coffee and espresso setup.

Protect Pots, Pans, and Bakeware
Cookware is heavy but far more forgiving than dishes, so the goal here is protecting finishes — nonstick coatings and cast-iron seasoning in particular — rather than preventing breakage. Nest pots and pans by size with a layer of paper or a dish towel between each one, and never stack anything directly on a nonstick surface without a buffer.
Lids pack separately, wrapped in paper and grouped in their own layer, since a stack of loose lids shifts and scratches everything around it. Bakeware — sheet pans, cake tins, muffin trays — packs flat on its side in a dish-pack box like records, the same vertical logic as Step 3. If any of your cookware is due for replacement anyway, our guides on the best stand mixers and best Instant Pot models are worth a look before you rebuy the same thing.
Pack Small Appliances Without Damaging Cords or Parts
Small appliances travel well as long as you remove anything removable first — blades, carafes, crumb trays, drip pans — and pack each piece separately, wrapped in paper. Coil each cord loosely (never tightly, which stresses the internal wiring) and secure it with a twist tie or stretch wrap so it can’t snag other items in the box.
Wherever possible, pack a small appliance in its original box — it was engineered to fit that exact shape. If you no longer have the box, wrap the whole unit in a towel or bubble wrap and place it in a snug, appropriately sized box with no empty space around it. This applies to blenders, food processors, air fryers, and stand mixers alike; if you’re weighing upgrades, see our comparisons of the Ninja vs. Philips air fryers and Vitamix vs. Blendtec blenders.

Box Up Knives and Sharp Utensils Safely
Loose knives in a moving box are a real injury risk for whoever unpacks it — including you. Every blade needs its own wrap: slide knives into their original sheaths if you have them, or wrap each blade in several layers of cardboard secured with tape, edge fully covered. Never wrap a bare blade in paper alone; paper doesn’t stop a point from poking through.
Once wrapped, group all knives together in a small, clearly labeled box (see Step 10) rather than scattering them across multiple boxes — this keeps the risk contained to one clearly marked spot. If your knife set is overdue for replacement or you need to touch up an edge before the move, check our picks for the best knife set for beginners, our OXO knife review, and our guide on how to sharpen kitchen knives.

Pack Pantry Items and Perishables for the Move
Movers typically won’t transport perishables or opened food items, so start eating down your pantry, fridge, and freezer at least two weeks before moving day. For what’s left, seal any opened bags of dry goods (flour, rice, cereal) in airtight containers or zip-top bags before boxing them — a torn bag of flour inside a moving truck is a mess nobody wants to discover later.
Glass jars (oils, sauces, spices) should go in the middle of the box, cushioned on all sides, never at the top where box flexing puts them at risk. Unopened canned goods are heavy but sturdy — box them in small boxes only, since a full case of cans is too heavy to carry safely in a large one. If you’re setting up a new pantry system at the other end, our kitchen scale and measuring cup guides are handy for restocking baking essentials.

Handle China, Crystal, and Specialty Décor
Heirloom china and crystal deserve a different level of care than everyday dishware. Double-wrap each piece — one layer of paper for cushioning, a second layer for structure — and pack in a dedicated dish-barrel box with at least three inches of crumpled paper on the bottom, sides, and top.
Never let a wrapped piece touch the cardboard wall directly — pad the full perimeter so the box’s own flex doesn’t reach the item inside. Crystal, figurines, and other display décor follow the same rule: wrap first, then nest in paper so nothing can shift more than a fraction of an inch inside the box.

Label Every Box the Smart Way
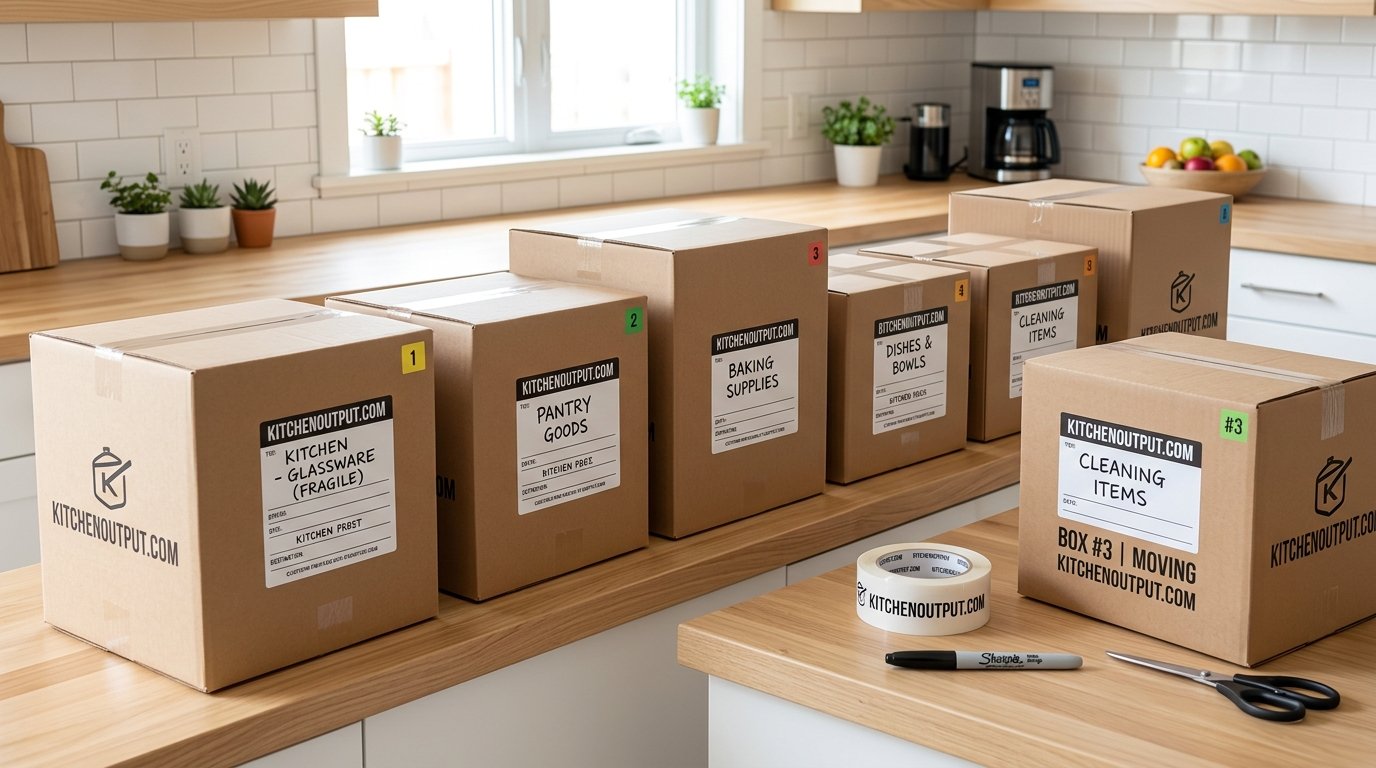
A good labeling system is what separates a smooth unpack from a week of hunting for the can opener. Label every box on at least two sides (so it’s readable no matter how it’s stacked) with the room, a short contents summary, and a fragility marker. Color-coded stickers by room speed this up further for movers who aren’t reading labels closely.
Keep a simple master list as you go — box number, room, and a one-line contents note — either on paper or in a notes app. This takes ten extra seconds per box and turns “which box has the coffee maker” into a five-second lookup instead of an unpacking-day scavenger hunt.

Load Kitchen Boxes onto the Truck Strategically
How boxes get loaded matters almost as much as how they’re packed. Heaviest boxes — cookware, canned goods, small appliances — go in first, along the floor of the truck, with lighter and more fragile boxes stacked on top, never the reverse. Fragile boxes should never sit directly against the truck wall, where road vibration is strongest.
Fill gaps between boxes with soft items — dish towels, oven mitts — so nothing has room to slide during transit. If you’re renting a truck yourself rather than hiring movers, load kitchen boxes last so they’re the first ones off at the new house, since that’s the room you’ll want functional first.

Unpack and Set Up Your New Kitchen Efficiently
Unpack in the reverse order of urgency: appliances and everyday dishes first, décor and rarely used items last. Wipe down cabinets and drawers before anything goes in them, and resist the urge to unpack everything in one exhausting day — a kitchen that’s 80% functional by evening one beats one that’s fully unpacked but disorganized by midnight.
Before you fully commit to cabinet layout, think through workflow — prep zone, cooking zone, cleanup zone — rather than just recreating your old kitchen’s arrangement out of habit. Our guide on how to organize a small kitchen covers layout logic that applies to any size space, and if a few gadgets didn’t survive the trip, our must-have kitchen appliances list is a good starting point for replacements.

DIY Kitchen Packing vs. Hiring Professional Packers
Not every move calls for the same approach. Here’s how the two options actually compare when it comes to your kitchen specifically.
| Factor | DIY Packing | Professional Packers |
|---|---|---|
| Cost | Lowest — just supplies | Highest — labor + materials |
| Time required | 1–3 full days | Often done in a few hours |
| Breakage risk | Higher without experience | Lower — trained technique |
| Control over sorting | Full control over decluttering | Less — packers move what’s there |
| Insurance on damage | Depends on your own coverage | Often included or purchasable |
| Best for | Budget moves, smaller kitchens | Large kitchens, fragile collections |
Pros of Packing It Yourself
- Full control over what gets kept vs. donated
- Significantly cheaper for most households
- You know exactly what’s in every box
Cons of Packing It Yourself
- Time-consuming, especially for large kitchens
- Higher breakage risk without dish-pack experience
- Physically demanding for heavy cookware and appliances
Frequently Asked Questions
How long does it take to pack an average kitchen?
Most kitchens take a full day to a day and a half for one person working steadily, longer if you’re also decluttering as you go. Start at least a week before moving day so you’re not rushing on the final night.
What boxes are best for kitchen items?
Small and medium boxes for anything heavy (cookware, canned goods, small appliances), dish-pack or cell-divider boxes for plates and glassware, and dish-barrel boxes for china and crystal.
Can movers pack a refrigerator with food still in it?
No — most moving companies require refrigerators to be emptied, defrosted, and dry at least 24 hours before pickup to prevent leaks and odor during transit.
Should I pack knives point-up or point-down in the box?
Point-down, wrapped in a cardboard sheath, so the exposed handle end faces up and there’s no chance of a blade tip working through the wrap during handling.
Is it okay to use newspaper to wrap dishes?
It works in a pinch, but the ink can transfer onto glazed dishware and cookware, meaning an extra wash before use. Plain packing paper is worth the small extra cost.
How do I pack a stand mixer for moving?
Remove the bowl, beaters, and any attachments, wrap each separately, and pack the mixer body upright in a snugly sized box with padding on all sides — ideally its original box if you kept it.
What should I do with opened spices and oils?
Tape lids shut with packing tape, stand jars upright in the center of a small box, and cushion on all sides. Consider using up or donating anything close to expiration rather than moving it.
Do I need special boxes for wine glasses?
A cell-divider box designed for stemware is strongly recommended — it keeps each glass isolated so pressure from surrounding items never reaches it.
How should I label fragile kitchen boxes?
Mark “FRAGILE” and “THIS SIDE UP” on at least two sides of the box, plus a brief contents note, so it’s visible regardless of how boxes get stacked in transit.
What kitchen items should I move myself instead of putting on the truck?
Irreplaceable items — heirloom china, a favorite knife, sentimental serving pieces — are worth transporting in your own vehicle rather than trusting them to a truck full of other boxes.
How far in advance should I start packing the kitchen?
Start decluttering three to four weeks out, pack rarely used items (specialty bakeware, holiday dishes) two weeks out, and leave only daily-use items for the final few days before moving day.
Can I pack pots and pans with food residue still on them?
No — wash and fully dry everything before packing. Trapped moisture inside a sealed box for days can lead to rust on cast iron and mildew smells on other cookware.
Your Kitchen, Packed Right the First Time
A kitchen move goes smoothly when you follow the order that actually protects your items: declutter first, gather real packing materials, wrap fragile things individually, pack heavy items in small boxes, and label everything so future-you isn’t guessing on unpacking day. Work through the twelve steps above in order and your kitchen will be one of the easiest rooms in the house to pack — and one of the first to feel like home again once you unpack it.


